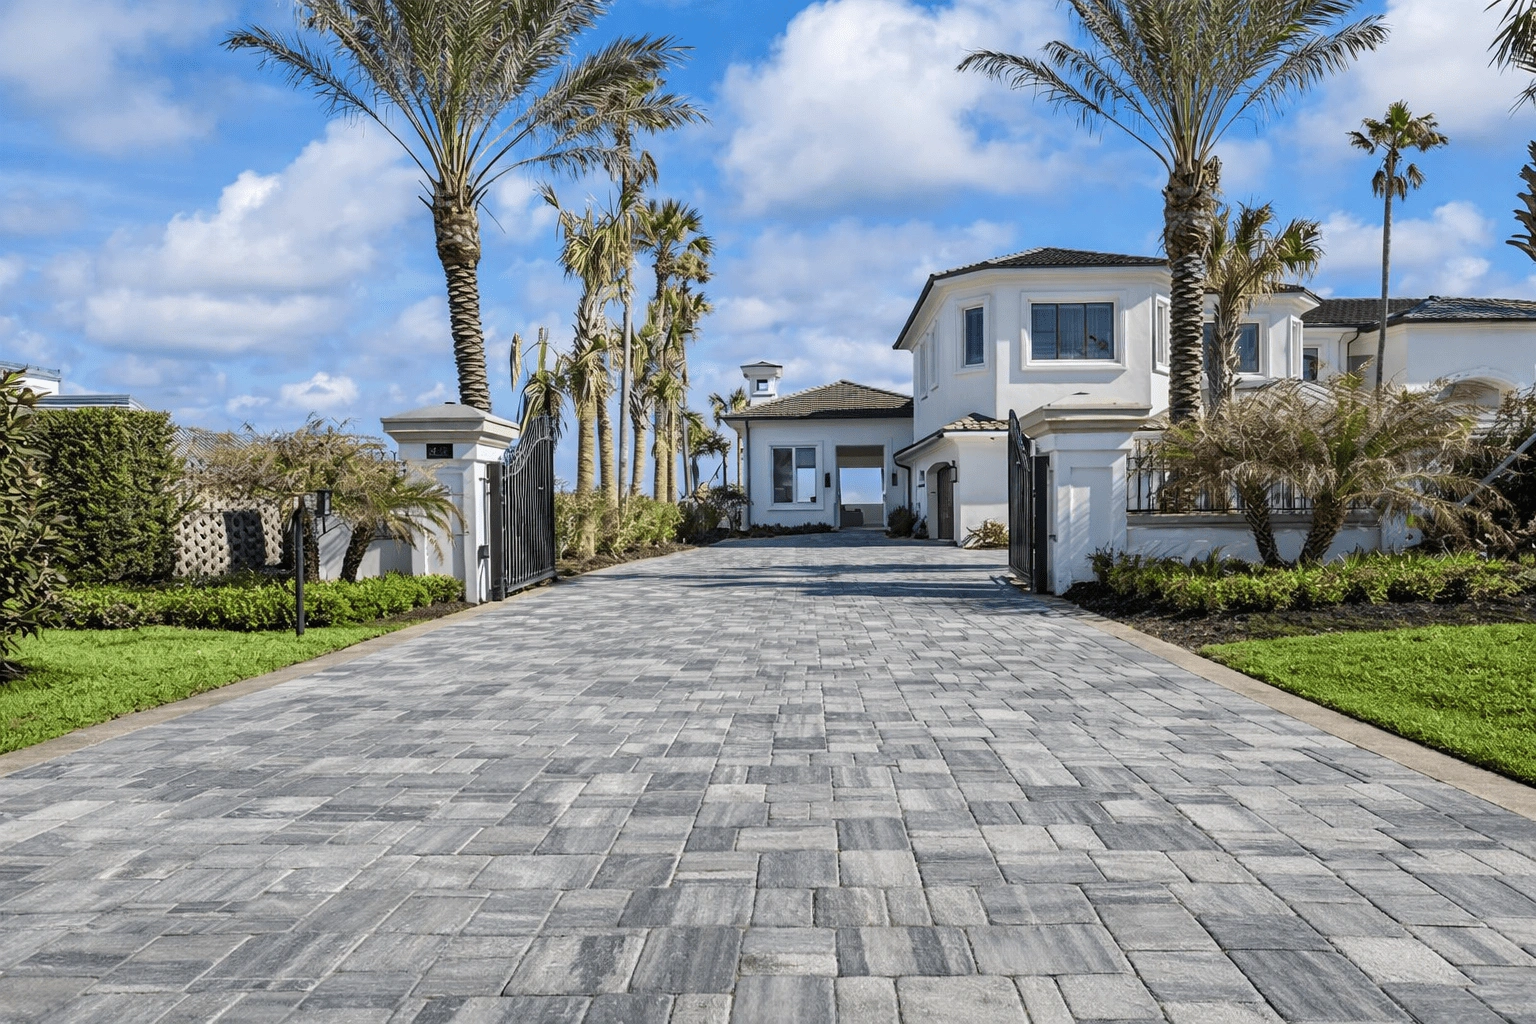
From Atlantic Beach to Jacksonville Beach, pavers deal with constant salt air, wind-blown sand, humidity, irrigation, and fast-changing coastal weather. Surfaces can look dry while moisture still sits in shaded joints and low spots — which is how haze, blotches, and uneven finishes happen after sealing.
We provide paver cleaning, joint re-sanding, and controlled sealing across the beaches with a process built for coastal conditions: deep cleaning with the right chemistry, properly compacted joint sand finished about 1/8" below the edge, verified dry time, and controlled coat application to prevent puddling and streaking. In beach environments, many driveways and pool decks need inspection and resealing on a shorter cycle, which makes prep and moisture control the difference between a finish that lasts and one that fails.
What Sealing Should Do For Your Beach Pavers
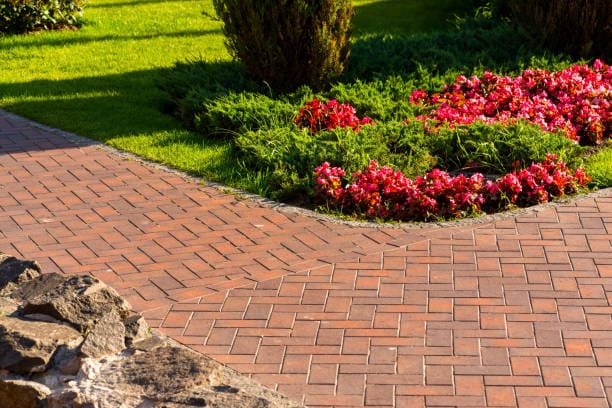
A good sealing job isn’t a “shine job.” It’s protection + uniformity + joints that hold up after rain, sprinklers, and coastal exposure — without puddling, blotches, or tacky areas.
- Richer color + a more even finish
- Joint sand stabilization (less washout + better lock)
- Helps resist staining from organics, grime, and coastal moisture
- Reduced weed growth in joints
- Easier rinsing and maintenance
Placeholder until GBP is live and we have verified reviews + gallery content.
Our Paver Sealing Process
Prep, joint integrity, moisture control, and a repeatable system — that’s what makes results last.
1) Inspection & Surface Evaluation
We check drainage, stains, joints, and movement so expectations are clear.
- Sinking/rocking and base concerns
- Stains: organic, rust, oil, tire marks
- Finish goal: natural vs color-enhanced
2) Professional Cleaning & Organic Treatment
We clean for adhesion and uniform results — not just appearance.
- Targeted organic treatment (algae/mildew)
- Controlled surface cleaning for consistency
- Thorough rinse + surface verification
3) Joint Prep & Re-Sanding (ASTM-C144)
We reset joints with Trident joint sand and compact for stability.
- Clean joints and remove failing material
- Hydro-compact for joint lock
- Final depth: 1/8" below joint edge
4) Moisture & Weather Window Control
If the surface isn’t dry enough — or the window isn’t safe — we pause.
- Surface dryness and low-spot checks
- Humidity and rain-risk planning
- Shade and moisture awareness
5) Sealer Application (Two-Coat System)
Controlled coverage for a clean finish — no puddles, streaks, or tacky spots.
- Flood coat + second coat (as needed)
- Clean borders and edge control
- Natural or color-enhanced finish options
6) Final Walkthrough, Cure-Time & Maintenance
We confirm coverage, review cure time, and give clear care guidance.
- 24 hours no foot traffic, 48 hours vehicles
- Do’s and don’ts to prevent premature wear
- Maintenance plan to extend life
Jacksonville Beaches Paver Sealing – Common Questions
What does paver sealing cost at the Jacksonville Beaches?
Paver sealing prices at the Jacksonville Beaches vary based on square footage, paver porosity, surface and joint condition, joint sand loss, staining, access, drainage patterns, and overall preparation requirements. Coastal properties also deal with salt air, wind-blown sand, and higher moisture exposure, which makes prep and joint integrity even more important.
Most professional projects start around $1.50 per square foot. We use Trident Hurricane CAT 5 sealer and Trident joint sand (ASTM-C144)—contractor-grade materials designed to hold up better than homeowner or budget products. Final pricing depends on surface condition, joint stability, access, and the amount of prep required to achieve a clean, consistent finish that lasts.
Do salt air and sand affect paver sealing performance?
Yes. Salt air and wind-blown sand can accelerate surface wear and contribute to joint sand loss over time. Coastal humidity and pop-up rain also make moisture control critical. A professional process focuses on deep cleaning, stable joints, and applying sealer in controlled coats to avoid haze, blotches, and tacky areas.
Why do paver joints wash out after rain and irrigation near the coast?
Joint washout usually comes from low or poorly compacted sand, runoff across sloped surfaces, and regular irrigation overspray. At the beaches, wind and sand movement can also contribute to joint loss. Restoring joints and compacting correctly before sealing helps reduce washout and keeps pavers more stable.
How often should a driveway be resealed at the beaches?
Most homeowners reseal about every 2–3 years. Driveways with daily parking, direct sun, and coastal exposure often wear faster than shaded patios. Recoating before the sealer wears completely through helps maintain a more uniform finish and reduces heavy prep later.
Do you re-sand joints before sealing?
If the joints are low or unstable, yes. We remove deteriorated joint material and re-sand using Trident joint sand (ASTM-C144), compacted to the correct depth. Skipping joint restoration is one of the main reasons pavers shift and weeds return after heavy rain.
What causes a hazy or blotchy finish after sealing?
Most haze and blotch issues come from moisture or over-application. Sealing damp pavers, trapping moisture in shaded areas, or applying too heavy of a coat can create a cloudy or uneven finish. Florida humidity and pop-up rain make moisture control critical, which is why we verify dry conditions before sealing.
When is the best time to seal pavers at the Jacksonville Beaches?
Spring through early fall can work well as long as the surface is fully dry and the forecast allows proper cure time. Coastal humidity, shaded areas, and irrigation can keep pavers damp longer than expected, so we schedule sealing around moisture conditions—not just the calendar.